How to start saving money
Lorem ipsum dolor sit amet, consectetur adipiscing elit lobortis arcu enim urna adipiscing praesent velit viverra sit semper lorem eu cursus vel hendrerit elementum morbi curabitur etiam nibh justo, lorem aliquet donec sed sit mi dignissim at ante massa mattis.
- Neque sodales ut etiam sit amet nisl purus non tellus orci ac auctor
- Adipiscing elit ut aliquam purus sit amet viverra suspendisse potent
- Mauris commodo quis imperdiet massa tincidunt nunc pulvinar
- Excepteur sint occaecat cupidatat non proident sunt in culpa qui officia
Why it is important to start saving
Vitae congue eu consequat ac felis placerat vestibulum lectus mauris ultrices cursus sit amet dictum sit amet justo donec enim diam porttitor lacus luctus accumsan tortor posuere praesent tristique magna sit amet purus gravida quis blandit turpis.

How much money should I save?
At risus viverra adipiscing at in tellus integer feugiat nisl pretium fusce id velit ut tortor sagittis orci a scelerisque purus semper eget at lectus urna duis convallis. porta nibh venenatis cras sed felis eget neque laoreet suspendisse interdum consectetur libero id faucibus nisl donec pretium vulputate sapien nec sagittis aliquam nunc lobortis mattis aliquam faucibus purus in.
- Neque sodales ut etiam sit amet nisl purus non tellus orci ac auctor
- Adipiscing elit ut aliquam purus sit amet viverra suspendisse potenti
- Mauris commodo quis imperdiet massa tincidunt nunc pulvinar
- Adipiscing elit ut aliquam purus sit amet viverra suspendisse potenti
What percentege of my income should go to savings?
Nisi quis eleifend quam adipiscing vitae aliquet bibendum enim facilisis gravida neque. Velit euismod in pellentesque massa placerat volutpat lacus laoreet non curabitur gravida odio aenean sed adipiscing diam donec adipiscing tristique risus. amet est placerat in egestas erat imperdiet sed euismod nisi.
“Nisi quis eleifend quam adipiscing vitae aliquet bibendum enim facilisis gravida neque velit euismod in pellentesque”
Do you have any comments? Share them with us on social media
Eget lorem dolor sed viverra ipsum nunc aliquet bibendum felis donec et odio pellentesque diam volutpat commodo sed egestas aliquam sem fringilla ut morbi tincidunt augue interdum velit euismod eu tincidunt tortor aliquam nulla facilisi aenean sed adipiscing diam donec adipiscing ut lectus arcu bibendum at varius vel pharetra nibh venenatis cras sed felis eget.
Yes, you can install a GPS tracker on virtually any trailer, and for most owners the job takes less than an hour. The real decision happens before you pick up a screwdriver: choosing between a battery-powered, hard-wired, or solar-assisted tracker based on how the trailer gets used.
Three things determine whether the install succeeds:
- A tracker with dual-constellation positioning (GPS + GLONASS) and 4G connectivity
- A power source matched to your use case, whether that’s a long-life battery or a fused 12V line
- A mounting spot with a clear view of the sky
Your next move is simple: identify your trailer type, open-frame metal, enclosed metal, or fiberglass, then match the tracker to it.
Key Takeaways
Trailer GPS installation succeeds when the tracker type matches the trailer’s use pattern, the mounting spot preserves sky view, and the power source is fused and constant.
| Point | Details |
|---|---|
| Match tracker to use case | Battery units suit occasional-use trailers; hard-wired units suit permanently attached fleet trailers. |
| Mount for signal, not just concealment | Avoid metal enclosures that block reception; test satellite lock before sealing anything permanently. |
| Use fused constant 12V for hard-wiring | Ignition-switched circuits defeat theft detection when the trailer is parked and disconnected. |
| Test before you leave the site | Confirm a satellite fix, good signal strength, and live app updates before finishing the job. |
| Consider subscription-free hardware | Moto Watchdog offers one-time-cost trackers with geofencing and long battery life for trailer installs. |
Manuals, Legal Resources, and Apps to Check
- Geotab’s trailer installation guide for step-by-step harness mounting
- Wiring and placement guidance for antenna selection and signal testing
- State-by-state tracking law summaries for fleet compliance checks
- Lonestar Tracking on Google Play for companion app activation steps
Table of Contents
- Which Tracker Type Fits Your Trailer Setup?
- How Do You Install a GPS Tracker on a Trailer?
- What Power and Wiring Setup Works Best?
- Where Should You Mount the Antenna for Best Signal?
- How Do You Confirm the Installation Is Working?
- What Does Trailer GPS Installation Typically Cost?
- Why Isn’t My Trailer GPS Tracker Working?
- Why a Subscription-Free Tracker Makes Sense for Trailers
- Get a Trailer Tracker That Skips the Monthly Bill
- Sources
Which Tracker Type Fits Your Trailer Setup?
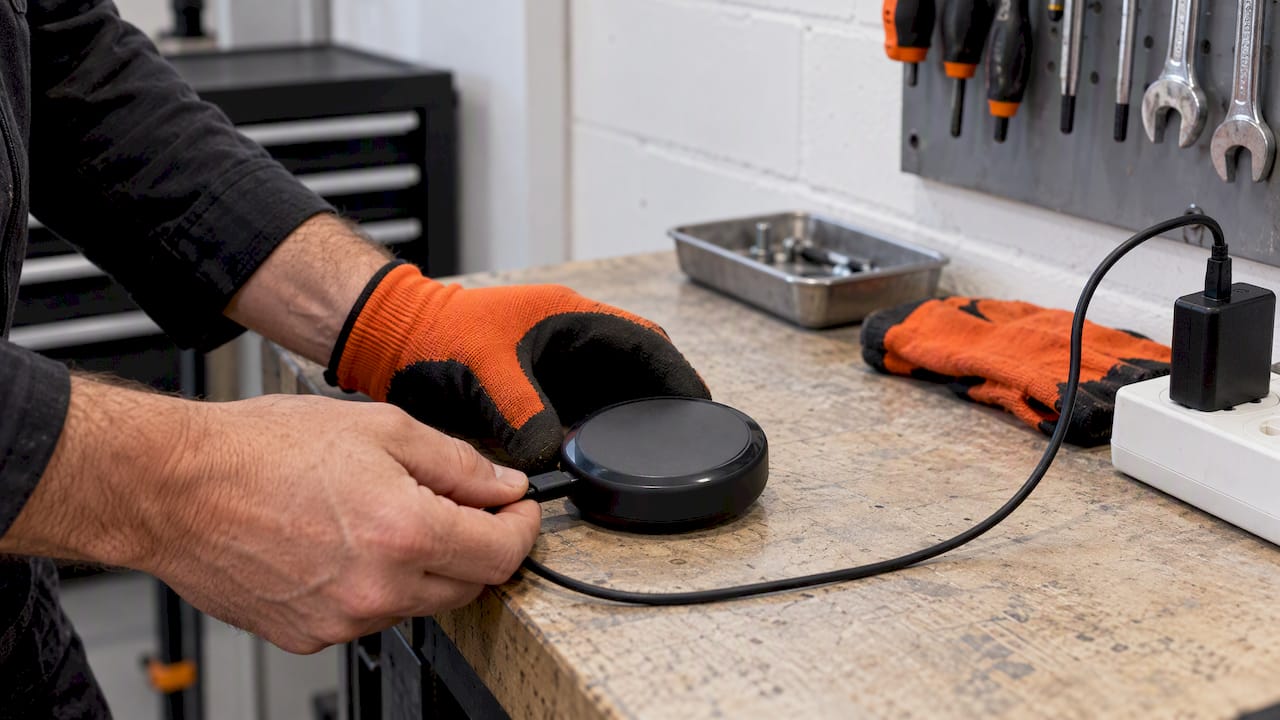
Battery-powered trackers work best for trailers that sit idle between jobs or need discreet placement. Modern units report anywhere from several months to a year or more on a single charge, depending on reporting frequency, and they install in minutes with adhesive mounts or a simple bracket.
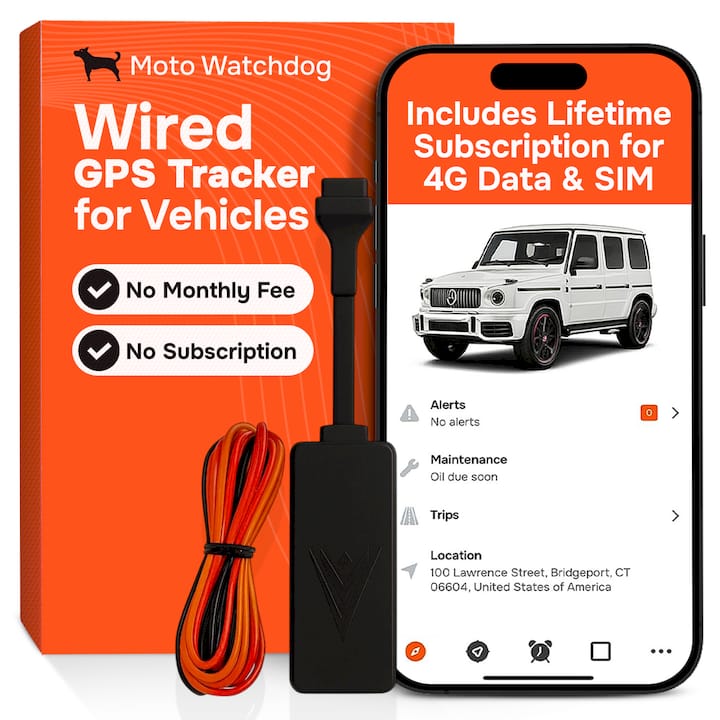
Hard-wired trackers suit fleet trailers and units that stay permanently attached to a truck. Continuous power means more frequent location updates and no battery-swap maintenance, which matters when a trailer is on the road daily.
Solar-assisted or hybrid trackers make sense for trailers parked outdoors for extended stretches, construction equipment trailers, storage units, or seasonal rentals sitting in a lot with direct sun exposure.
Trailer material changes the calculus, too. A metal enclosed box can block signal more than an open-frame flatbed, so fiberglass or aluminum-skinned trailers generally give a tracker an easier path to satellites.
Pro Tip: If you’re outfitting a mixed fleet, standardize on hard-wired units for trailers that never leave rotation and battery units for anything seasonal or rented out. Mixing types by use case is easier to manage than mixing brands.
How Do You Install a GPS Tracker on a Trailer?
A clean trailer GPS installation follows a predictable sequence. Here’s the checklist that keeps a DIY job from turning into a return trip.
- Gather your tools. You’ll want a multimeter, crimp connectors, fuse taps, a drill, wire loom, and silicone sealant. Confirm your device’s kit contents against the manufacturer’s list before you start.
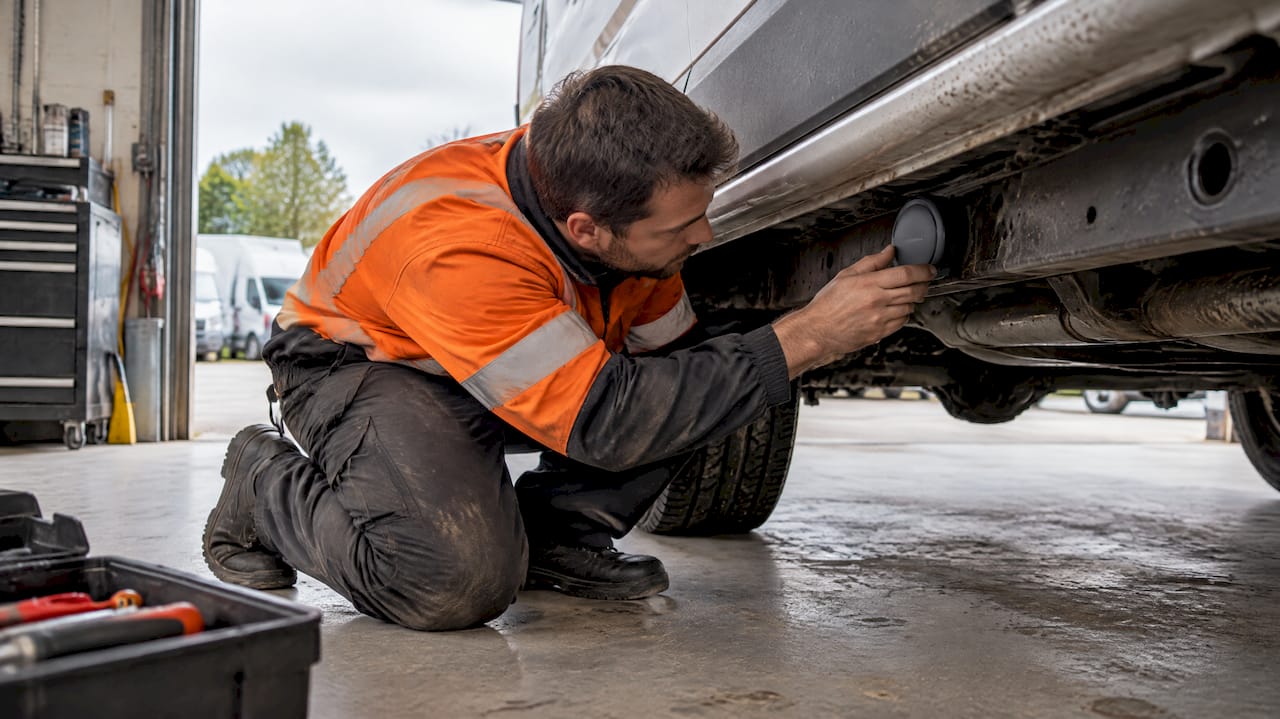
- Choose and test a mounting site. Pick a spot that balances concealment with sky exposure, then do a temporary placement test before committing to anything permanent.
- Decide on your power source. Hard-wiring calls for a constant fused 12V line; battery units just need a health check and confirmation of the reporting interval you want.
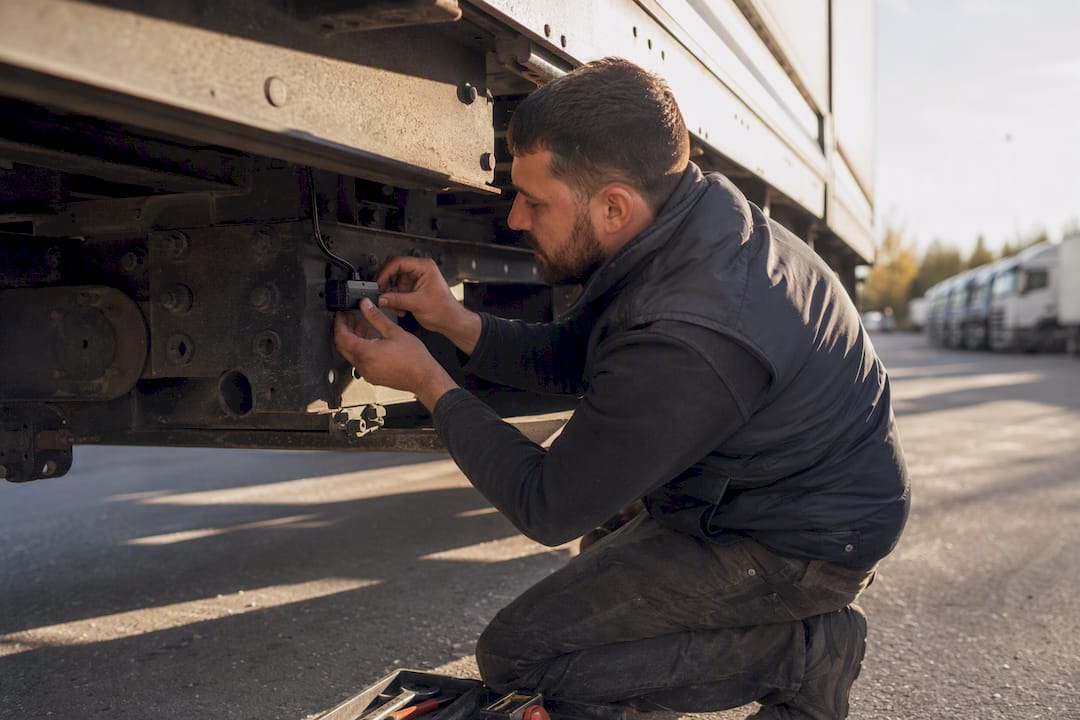
- Route the wiring. Run harnesses through existing grommets where you can, secure everything with loom and zip ties, and use ring terminals with an inline fuse, typically 1 to 2 amps.
- Mount the device. Use the screws or adhesive the manufacturer recommends, orient the antenna side up, and seal any screw penetrations with silicone.
- Power up and activate. Turn the unit on in an open area and give it up to ten minutes for a satellite fix, then activate it in the companion app and confirm live location and alerts are coming through.
A trailer-specific installation kit, like the 19-step process Geotab documents for its GO Anywhere Plus, shows how much manufacturer guidance can simplify the mounting and sealing steps. For vendor-specific wiring, including kill-switch setups, TrackHawk’s support documentation is a useful reference point.
Before any hard-wiring, disconnect the trailer’s battery if it has one, avoid tapping ignition-switched circuits unless your device specifically calls for it, and write down the device’s serial number somewhere you’ll actually find it again.
Pro Tip: Do the temporary placement test with tape, not screws. A tracker that can’t get a fix in your “perfect” hidden spot will save you a redrill if you catch it before the silicone goes on.
What Power and Wiring Setup Works Best?
A fused, constant 12V DC feed is the standard for hard-wired trailer trackers because it keeps the device reporting even when the trailer is disconnected from a tow vehicle, which matters if theft happens while it’s parked. Ignition-switched circuits won’t power the tracker unless the trailer is hooked up and running, defeating the point of theft detection.
Most trackers accept a voltage range compatible with standard vehicle electrical systems, but check your specific model’s spec sheet before wiring anything.
- Use an inline fuse rated appropriately and waterproof connectors at every splice
- Avoid tapping into unregulated or auxiliary-battery circuits without verifying voltage first
- Route wiring through loom, away from moving parts and brake lines
- Check pinouts carefully on multi-pin connectors like J560 or J2863 if you’re using a harness adapter
For fleet-scale installs, a dedicated hardwiring guide built for fleet managers walks through harness routing decisions in more depth.
Pro Tip: Always test the circuit with a multimeter before connecting the tracker. A five-minute check beats troubleshooting a fried device later.
Where Should You Mount the Antenna for Best Signal?
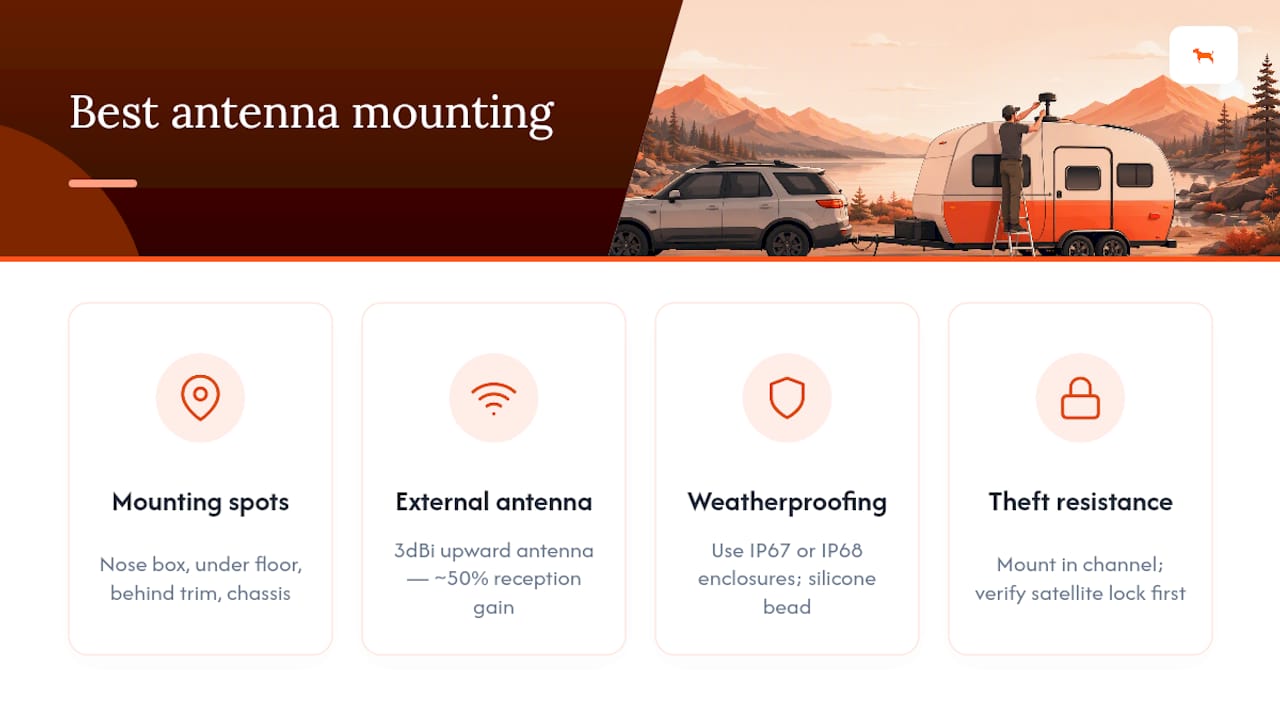
The antenna needs a clear shot at the sky, and metal enclosures act like a Faraday cage, blocking reception even when the device itself is powered and working fine.
Good mounting spots include the inside of a non-metallic nose box, under floor panels with plastic channels, behind non-metal trim, or secured directly to the chassis where sky view is achievable. When none of those are ideal, an external 3dBi antenna routed upward can improve reception by roughly 50% in otherwise obstructed locations.
Weatherproofing matters just as much as placement. Favor enclosures rated IP67 or IP68, and run a bead of silicone around any screw holes to keep moisture out over months of road exposure.
Pro Tip: Mounting inside a structural channel improves theft resistance, but test for a satellite lock before you seal anything permanently. A hidden tracker that can’t see the sky is just expensive dead weight.
How Do You Confirm the Installation Is Working?
Testing takes about ten minutes and catches almost every installation problem before it becomes a call at 2 a.m.
- Power the device in open sky and wait up to ten minutes for the first satellite fix, confirming at least four satellites with good HDOP.
- Check the reported signal strength. Weak signals usually mean you need to reposition the antenna.
- Open the companion app and confirm live location updates, geofence creation, movement alerts, and low-battery notifications are all functioning.
- Tow the trailer for a short route to validate motion detection and update frequency in real conditions.
Pro Tip: Run the app check while you’re still standing next to the trailer. If the location doesn’t move when you nudge the unit, you’ve saved yourself a wasted test drive.
What Does Trailer GPS Installation Typically Cost?
Costs break down into three pieces: the device itself, optional harnesses or antennas, and labor if you hire someone. Battery-powered units cost the least since there’s no wiring involved, while hard-wired fleet-grade trackers with harnesses and professional labor run higher, and pricing varies widely by model and region.
- Hire a professional when the trailer has complex wiring, integrated J560 or J2863 connectors, or an onboard auxiliary battery
- For fleets, professional installs often reduce downtime and guarantee correct power routing, which can justify the labor cost over time
Fleet managers should also confirm state-level tracking regulations before deploying trackers across a large fleet, since rules on consent and disclosure vary.
Why Isn’t My Trailer GPS Tracker Working?
No GPS fix: Test in open sky, reposition the antenna, and check for metal obstruction causing a Faraday effect.
No cellular upload: Verify the SIM or data plan is active, confirm 4G coverage in the area, and check APN settings if the device requires manual configuration.
Power drain or no power: Confirm the fused constant 12V feed with a multimeter, and check you haven’t accidentally wired into an ignition-switched circuit.
Intermittent reporting: Inspect wiring for chafing, verify grommet routing, and replace any loose connectors.
Why a Subscription-Free Tracker Makes Sense for Trailers
For owner-operators and small fleets, a subscription-free tracker turns an ongoing expense into a single upfront cost. No monthly fee means the math gets simpler: buy once, track indefinitely, and let the savings compound over the trailer’s working life.
- No recurring subscription cost
- Long battery life suited to trailers that sit between jobs
- Geofencing and business-friendly reporting built in
- Supports both hard-wired and battery installations with a straightforward activation flow
Moto Watchdog’s approach removes the monthly fee that most tracking platforms build their business around, which changes the ROI calculation for anyone running more than one trailer. Subscription-free 4G tracking means the cost of protecting an asset doesn’t grow every year you own it.
A Note on Concealment Versus Signal
I’ll be direct about a trade-off most guides gloss over: for fleet trailers, I lean toward a slightly visible external antenna over perfect concealment, because reliable signal beats theoretical stealth. For short-term rentals, a hidden battery pack makes more sense since the trailer isn’t parked long enough for a thief to search it thoroughly.
Get a Trailer Tracker That Skips the Monthly Bill
Motowatchdog is the alternative to subscription-based tracking platforms for trailer GPS installation: no recurring fee, an IP-rated housing built for weather exposure, long battery life for trailers that sit idle between jobs, and activation that takes minutes in the companion app.
Whether you’re outfitting a single utility trailer or standardizing a fleet, the setup process covered above applies directly to Moto Watchdog hardware, hard-wired or battery-powered. If you want to see how the subscription-free model changes the math for a business running multiple units, the breakdown of subscription-free GPS for businesses walks through the specifics. Ready to get one on order? Visit the Moto Watchdog product page to pick the tracker that matches your trailer type and place your order today.