How to start saving money
Lorem ipsum dolor sit amet, consectetur adipiscing elit lobortis arcu enim urna adipiscing praesent velit viverra sit semper lorem eu cursus vel hendrerit elementum morbi curabitur etiam nibh justo, lorem aliquet donec sed sit mi dignissim at ante massa mattis.
- Neque sodales ut etiam sit amet nisl purus non tellus orci ac auctor
- Adipiscing elit ut aliquam purus sit amet viverra suspendisse potent
- Mauris commodo quis imperdiet massa tincidunt nunc pulvinar
- Excepteur sint occaecat cupidatat non proident sunt in culpa qui officia
Why it is important to start saving
Vitae congue eu consequat ac felis placerat vestibulum lectus mauris ultrices cursus sit amet dictum sit amet justo donec enim diam porttitor lacus luctus accumsan tortor posuere praesent tristique magna sit amet purus gravida quis blandit turpis.

How much money should I save?
At risus viverra adipiscing at in tellus integer feugiat nisl pretium fusce id velit ut tortor sagittis orci a scelerisque purus semper eget at lectus urna duis convallis. porta nibh venenatis cras sed felis eget neque laoreet suspendisse interdum consectetur libero id faucibus nisl donec pretium vulputate sapien nec sagittis aliquam nunc lobortis mattis aliquam faucibus purus in.
- Neque sodales ut etiam sit amet nisl purus non tellus orci ac auctor
- Adipiscing elit ut aliquam purus sit amet viverra suspendisse potenti
- Mauris commodo quis imperdiet massa tincidunt nunc pulvinar
- Adipiscing elit ut aliquam purus sit amet viverra suspendisse potenti
What percentege of my income should go to savings?
Nisi quis eleifend quam adipiscing vitae aliquet bibendum enim facilisis gravida neque. Velit euismod in pellentesque massa placerat volutpat lacus laoreet non curabitur gravida odio aenean sed adipiscing diam donec adipiscing tristique risus. amet est placerat in egestas erat imperdiet sed euismod nisi.
“Nisi quis eleifend quam adipiscing vitae aliquet bibendum enim facilisis gravida neque velit euismod in pellentesque”
Do you have any comments? Share them with us on social media
Eget lorem dolor sed viverra ipsum nunc aliquet bibendum felis donec et odio pellentesque diam volutpat commodo sed egestas aliquam sem fringilla ut morbi tincidunt augue interdum velit euismod eu tincidunt tortor aliquam nulla facilisi aenean sed adipiscing diam donec adipiscing ut lectus arcu bibendum at varius vel pharetra nibh venenatis cras sed felis eget.
A fleet GPS hardware checklist is a systematic set of pre-installation, installation, and post-install verification steps that confirm GPS hardware functions correctly and delivers reliable tracking data. Fleet managers and logistics coordinators who skip any part of this process risk device failures, reporting errors, and costly rework. The industry term for this process is telematics commissioning, and tools like the Oxmaint commissioning checklist, Geotab installation guide, and Trackunit Fit app each formalize it into repeatable workflows. This guide breaks down every component of a complete fleet management hardware checklist so your deployment goes right the first time.
1. What belongs on a fleet GPS hardware checklist?
A fleet GPS hardware checklist covers three phases: pre-installation verification, physical installation, and post-install testing. Each phase has distinct tasks, and missing steps in any one phase creates problems in the next. Think of it as a commissioning gate: you do not move forward until each item is confirmed. Fleet managers who treat this as optional documentation quickly discover that skipping pre-install checks doubles the failure mode cost after installation. That cost includes technician return visits, replacement hardware, and lost tracking data.

2. Pre-installation hardware verification steps
Pre-install verification is the most skipped phase and the most consequential. Confirm every item below before a technician touches a vehicle.
- Firmware status: Confirm the GPS device firmware is current. Outdated firmware causes connectivity drops and missed OTA updates.
- SIM card activation: Verify the SIM is activated and the carrier profile matches the device’s cellular band requirements.
- OBD port compatibility: Test OBD-II port voltage and protocol compatibility for plug-and-play devices. Not all ports deliver consistent power.
- Installation kit inventory: Confirm mounting hardware, wiring harness, fuse holders, and cable loom are all present before the technician leaves the staging area.
- Device pairing: Pre-pair each device to the correct asset in the fleet management platform before field deployment.
Pre-install hardware verification including current firmware, SIM activation, and OBD port compatibility prevents costly post-installation failures. A single missing fuse holder or unactivated SIM can ground a technician for hours.
Pro Tip: Label each device with the target vehicle’s VIN before it leaves the warehouse. This one step eliminates the most common commissioning error: wrong device installed in the wrong vehicle.
3. How antennas and wiring should be installed and calibrated
Antenna placement is the leading cause of GPS accuracy complaints, and most of those complaints trace back to installation errors rather than firmware or platform faults. Antenna placement criteria are acceptance thresholds, not suggestions. Document them per vehicle.
| Requirement | Acceptance Threshold |
|---|---|
| GPS antenna ground plane | Metal surface ≥70 mm diameter |
| GPS to cellular antenna separation | ≥10 cm minimum |
| GPS signal strength (outdoor, engine running) | ≥ −85 dBm |
| Fuse placement from power source | Within 6 inches of connection |
Follow this numbered sequence for wiring:
- Locate the constant +12V or +24V battery source and the ignition-switched source.
- Route power lines away from high-heat areas such as exhaust manifolds and engine blocks.
- Place an inline fuse holder within 6 inches of the power connection point.
- Route all exposed wiring through protective cable loom.
- Maintain at least 10 cm of physical separation between the GPS antenna and any cellular antenna.
- Confirm GPS signal strength reaches ≥ −85 dBm outdoors with the engine running before closing panels.
Proper fuse placement/479) close to the power source and clear wire routing prevents intermittent reboots and improves installation durability under vehicle vibration and corrosion. A device that reboots randomly every few days is far harder to diagnose than one that fails completely.
Pro Tip: Use a multimeter to verify voltage at the ignition source before connecting. Some vehicles deliver less than 12V at the accessory circuit, which causes GPS devices to reset during engine cranking.
4. What are the common GPS installation types and their considerations?
Each installation type carries its own checklist requirements. Choosing the wrong approach for a vehicle class creates problems that no amount of post-install testing can fix.
| Installation Type | Best For | Key Checklist Items |
|---|---|---|
| Plug-and-play OBD-II | Light vehicles, cars, vans | OBD port compatibility, port power verification |
| Hardwired GPS unit | Trucks, heavy equipment | Fuse placement, ignition source, permanent mount |
| Rugged asset tracker | Trailers, unpowered equipment | IP67/IP68 rating, battery life vs. reporting frequency |
| Dashcam with GPS | Driver behavior monitoring | Camera angle, SD card capacity, power wiring |
| ELD-integrated device | DOT-regulated vehicles | Engine access, certification compliance, CAN bus protocol |
For unpowered assets like trailers and construction equipment, battery life and IP rating dominate the hardware decision. A device rated IP67 or IP68 survives pressure washing and submersion. Reporting frequency directly trades against battery longevity, so set intervals based on how often the asset actually moves.
Key considerations by type:
- OBD-II trackers: Fast to install but vulnerable to port blockers and low-power ports. Always test before committing.
- Hardwired units: Permanent and reliable, but require a trained technician and add 45–90 minutes per vehicle.
- Asset trackers: Match the device’s environmental rating to the operating conditions. A warehouse trailer needs different protection than a coastal fishing vessel.
For a deeper look at how these types compare across fleet use cases, the fleet GPS system types guide from Motowatchdog covers selection criteria in detail.
5. Post-install verification steps that confirm GPS hardware is working
The assumption that an installed device is working is one of the most expensive mistakes in fleet telematics. Evidence-based verification avoids ghost device issues where a unit appears online but reports no usable data.
Run through this checklist after every installation:
- Data transmission: Confirm the device is sending packets to the fleet management platform within 5 minutes of power-up.
- Cellular connectivity: Verify signal bars and confirm the carrier network matches the SIM profile.
- Account and VIN mapping: Incorrect VIN-to-device linking creates false connectivity failures that require administrative fixes. Confirm the match in the platform before closing the work order.
- GPS location accuracy: Drive the vehicle one block and confirm the platform shows the correct route. A stationary accuracy test is not sufficient.
- Camera and ELD data flow: If dashcams or ELD modules are installed, confirm video clips upload and engine hours sync correctly.
- Validation app documentation: Use Trackunit Fit or an equivalent installation validation app to capture real-time diagnostics and generate a commissioning record.
Pro Tip: Take a screenshot of the platform showing the device’s first confirmed location and attach it to the work order. This creates an audit trail and eliminates disputes about whether the install was completed correctly.
6. How to prepare field technicians and staging workflows
Technician readiness and staging workflows are as critical as hardware quality. A well-prepared technician with the right tools and pre-staged devices installs GPS units faster and with fewer errors than an unprepared one with better hardware.
Follow this preparation sequence before any field deployment:
- Confirm smartphone compatibility: The technician’s mobile device must support the installation validation app. Enable location services, camera access, and Bluetooth before leaving the office.
- Verify site connectivity: Check cellular and Wi-Fi coverage at the installation site. Some depots and warehouses have dead zones that prevent real-time app validation.
- Stage and label devices: Organize GPS units, wiring kits, and mounting hardware by vehicle type. Label each kit with the target VIN.
- Load asset metadata: Enter VINs, vehicle types, and asset names into the fleet platform before the technician arrives on site. Pre-loading data cuts per-vehicle install time significantly.
- Run a test install: Complete one full installation on a test vehicle before the main rollout. This surfaces tool gaps and process errors before they affect the entire fleet.
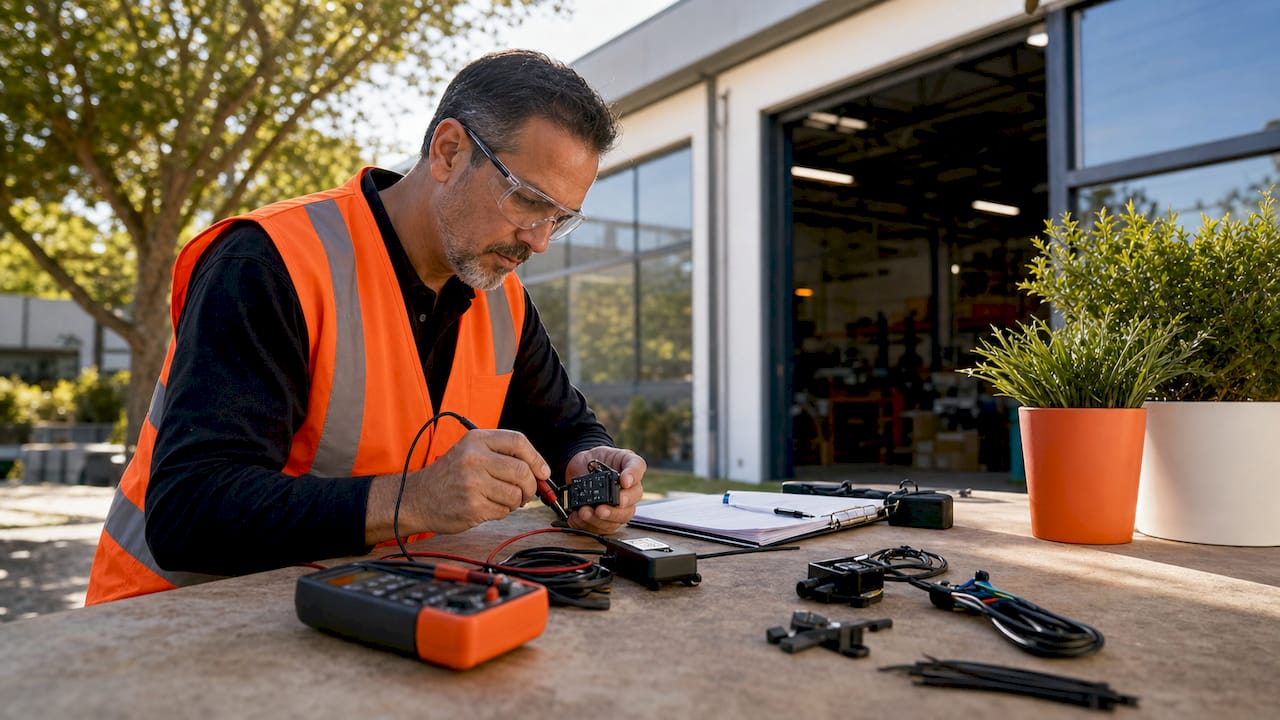
- Equip for the environment: Provide PPE appropriate to the vehicle type. Engine bay work on heavy trucks requires gloves and eye protection. Trailer installs in outdoor lots require high-visibility vests.
Standardized workflows and validation apps like Trackunit Fit reduce non-reporting units and setup errors across large fleet deployments. The investment in preparation pays back immediately in reduced return visits.
For fleets considering hardwired installations at scale, the fleet hardwiring guide from Motowatchdog covers wiring best practices and fuse placement in detail.
Key takeaways
A complete fleet GPS hardware checklist covering pre-install verification, antenna calibration, wiring standards, and post-install testing is the single most reliable way to prevent device failures and data errors across a fleet deployment.
| Point | Details |
|---|---|
| Pre-install verification is non-negotiable | Skipping firmware, SIM, and OBD checks doubles post-installation failure costs. |
| Antenna placement has hard thresholds | GPS antenna requires a ≥70 mm metal ground plane and ≥ −85 dBm signal strength. |
| Installation type drives the checklist | OBD-II, hardwired, and asset tracker installs each require different verification steps. |
| Post-install testing prevents ghost devices | Confirm data transmission, VIN mapping, and GPS accuracy before closing every work order. |
| Technician preparation reduces rework | Pre-staged devices, pre-loaded asset data, and app access cut field errors significantly. |
What most fleet managers get wrong about GPS hardware checklists
The biggest mistake I see fleet managers make is treating the checklist as paperwork rather than a technical gate. They hand a technician a device and a vehicle key and assume the install is done when the technician says it is. That assumption costs real money.
The items that get skipped most often are the ones that seem obvious: VIN-to-device mapping, fuse placement distance, and post-install GPS accuracy validation. These are not edge cases. Incorrect asset mapping is one of the most common commissioning failures I have encountered, and it is entirely preventable with a 30-second platform check before the technician leaves the vehicle.
Antenna placement is the other area where I consistently see teams cut corners. Most GPS accuracy complaints are not firmware problems or platform bugs. They are antenna placement errors that could have been caught with a signal strength reading at installation time. Documenting the dBm reading per vehicle creates a baseline that makes future troubleshooting far faster.
My practical recommendation: build the checklist into your work order system, not a separate document. When technicians cannot close a work order without completing each verification step, compliance becomes automatic. That shift from reactive problem-solving to documented commissioning is where reliable fleet data actually begins.
— Louis
Motowatchdog GPS hardware for fleet managers
Fleet managers who want reliable GPS tracking without monthly subscription fees have a direct path forward with Motowatchdog. Over 1,000 businesses rely on Motowatchdog’s accuracy for real-time vehicle monitoring, geofencing alerts, and detailed mileage reporting.
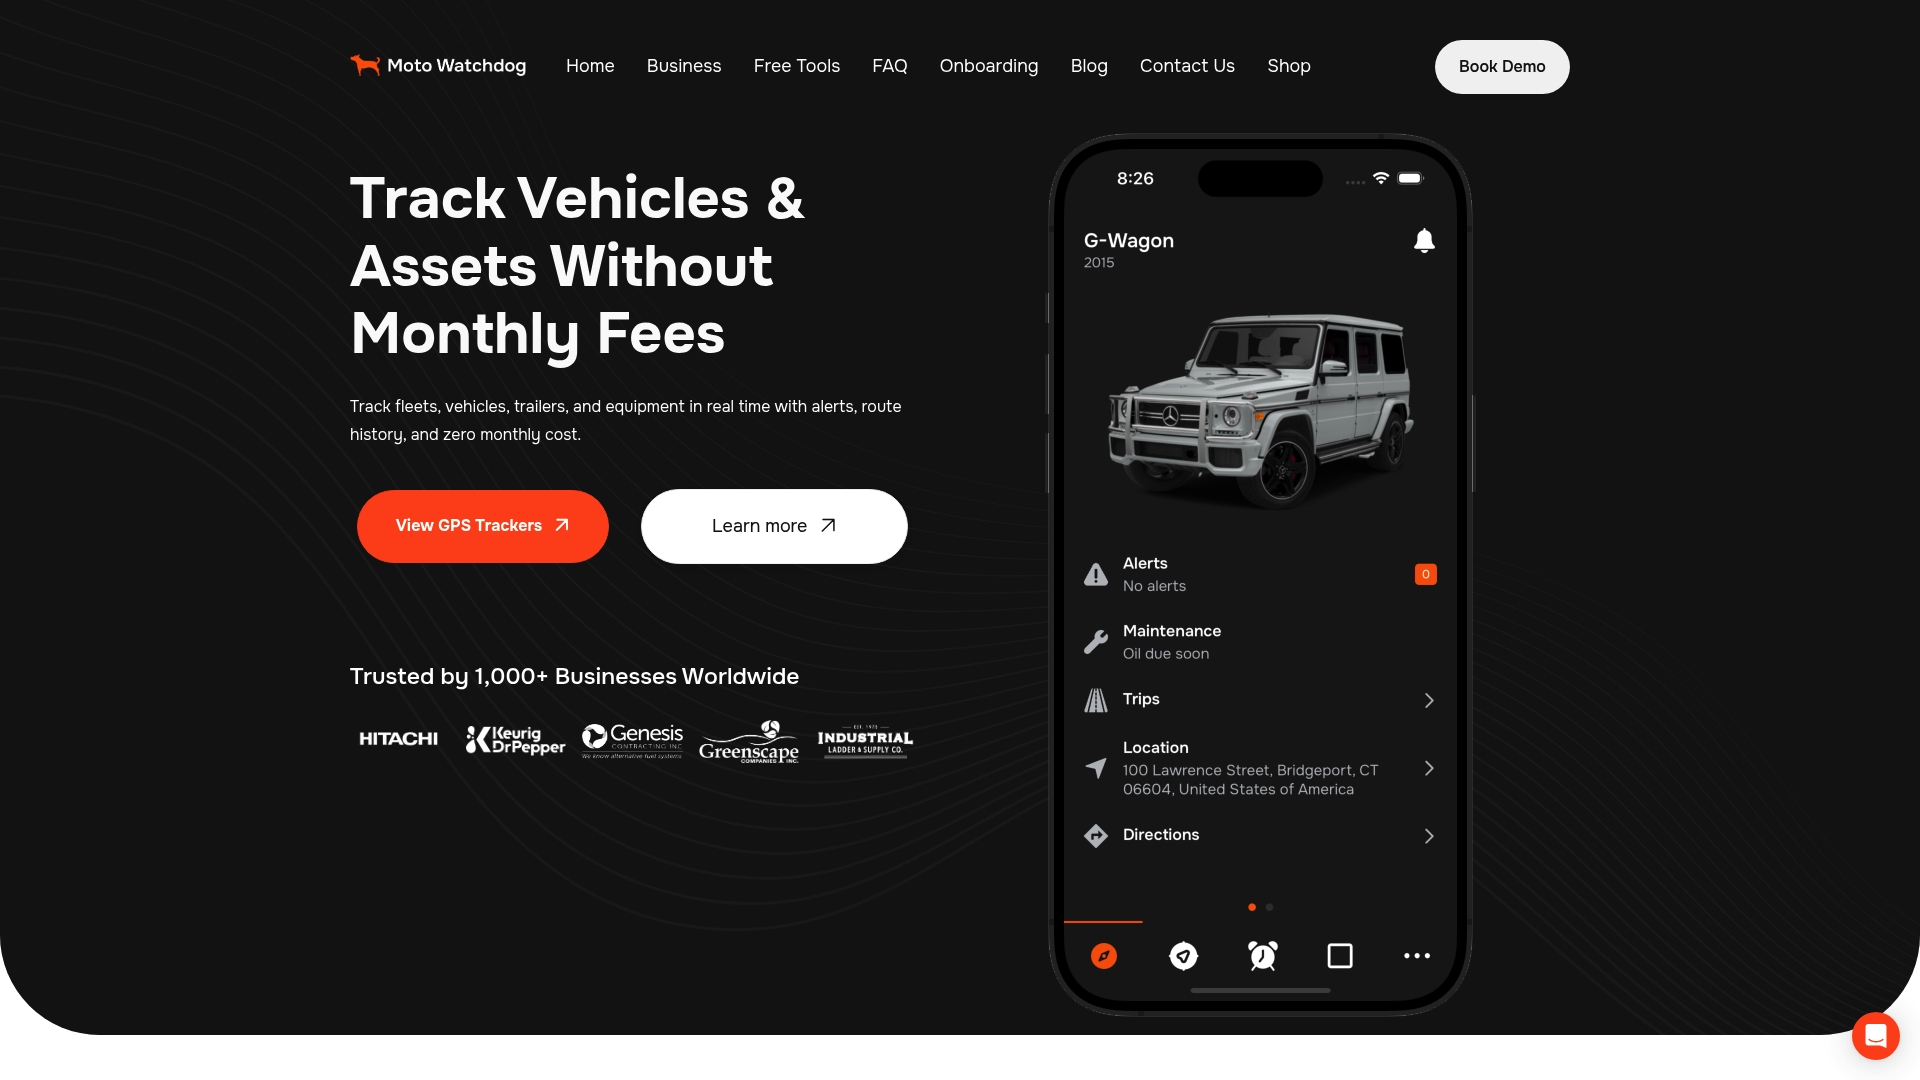
Motowatchdog’s subscription-free 4G GPS tracking hardware is built to align with the commissioning practices covered in this checklist. Devices ship ready for the pre-install verification steps described above, with long battery life for unpowered asset tracking and a straightforward setup process that reduces technician time per vehicle. For fleet managers evaluating hardware that fits a structured deployment workflow, Motowatchdog is worth a close look.
FAQ
What is a fleet GPS hardware checklist?
A fleet GPS hardware checklist is a structured set of pre-installation, installation, and post-install verification steps that confirm GPS devices are correctly installed and transmitting accurate data. It covers firmware, SIM activation, antenna placement, wiring, and account mapping.
Why does pre-installation verification matter?
Skipping pre-install checks doubles the failure mode cost after installation. Confirming firmware, SIM status, and OBD compatibility before deployment prevents the majority of post-install failures.
What GPS signal strength is required for a valid installation?
GPS signal strength must reach at least −85 dBm outdoors with the engine running. Readings below this threshold indicate an antenna placement problem, not a device or platform fault.
How do I prevent ghost device issues after installation?
Confirm data transmission, verify the VIN-to-device mapping in the fleet platform, and validate GPS location accuracy with a short test drive. Using a validation app like Trackunit Fit to generate a commissioning record eliminates most ghost device problems.
Do GPS hardware requirements change for regulated fleets?
Yes. In regulated jurisdictions, compliance mandates add hardware requirements such as dual GNSS modules, tamper detection, and government backend integration. Fleet managers operating under DOT or similar regulations should confirm device certification before purchase.