How to start saving money
Lorem ipsum dolor sit amet, consectetur adipiscing elit lobortis arcu enim urna adipiscing praesent velit viverra sit semper lorem eu cursus vel hendrerit elementum morbi curabitur etiam nibh justo, lorem aliquet donec sed sit mi dignissim at ante massa mattis.
- Neque sodales ut etiam sit amet nisl purus non tellus orci ac auctor
- Adipiscing elit ut aliquam purus sit amet viverra suspendisse potent
- Mauris commodo quis imperdiet massa tincidunt nunc pulvinar
- Excepteur sint occaecat cupidatat non proident sunt in culpa qui officia
Why it is important to start saving
Vitae congue eu consequat ac felis placerat vestibulum lectus mauris ultrices cursus sit amet dictum sit amet justo donec enim diam porttitor lacus luctus accumsan tortor posuere praesent tristique magna sit amet purus gravida quis blandit turpis.

How much money should I save?
At risus viverra adipiscing at in tellus integer feugiat nisl pretium fusce id velit ut tortor sagittis orci a scelerisque purus semper eget at lectus urna duis convallis. porta nibh venenatis cras sed felis eget neque laoreet suspendisse interdum consectetur libero id faucibus nisl donec pretium vulputate sapien nec sagittis aliquam nunc lobortis mattis aliquam faucibus purus in.
- Neque sodales ut etiam sit amet nisl purus non tellus orci ac auctor
- Adipiscing elit ut aliquam purus sit amet viverra suspendisse potenti
- Mauris commodo quis imperdiet massa tincidunt nunc pulvinar
- Adipiscing elit ut aliquam purus sit amet viverra suspendisse potenti
What percentege of my income should go to savings?
Nisi quis eleifend quam adipiscing vitae aliquet bibendum enim facilisis gravida neque. Velit euismod in pellentesque massa placerat volutpat lacus laoreet non curabitur gravida odio aenean sed adipiscing diam donec adipiscing tristique risus. amet est placerat in egestas erat imperdiet sed euismod nisi.
“Nisi quis eleifend quam adipiscing vitae aliquet bibendum enim facilisis gravida neque velit euismod in pellentesque”
Do you have any comments? Share them with us on social media
Eget lorem dolor sed viverra ipsum nunc aliquet bibendum felis donec et odio pellentesque diam volutpat commodo sed egestas aliquam sem fringilla ut morbi tincidunt augue interdum velit euismod eu tincidunt tortor aliquam nulla facilisi aenean sed adipiscing diam donec adipiscing ut lectus arcu bibendum at varius vel pharetra nibh venenatis cras sed felis eget.
Create a geofence around the location that matters, choose entry, exit, or dwell as the trigger, then pick who gets notified and how. Test the zone with a real approach before trusting it, and tune the reporting interval and dwell time so a normal stop at a red light doesn’t turn into a false alarm. Get those four steps right and the rest of the system runs on its own.
TL;DR:
- Widen the geofence radius, add dwell time thresholds, and incorporate speed or ignition data to prevent false alerts caused by GPS drift or signal loss.
- Test geofence accuracy by running real-world approach and boundary crossing simulations, adjusting settings until events log correctly.
- Use specific naming, matching site shape, setting active hours, and assigning relevant personnel to ensure alerts remain relevant and reduce noise.
- Choose trigger types based on needs: entry for arrivals, exit for departures, and dwell for idling, with push notifications for urgent alerts and email for records.
- Select subscription-free GPS trackers that offer reliable geofence alerts, long battery life, and inbuilt mileage reports for small fleets, families, or equipment security.
Table of Contents
- How Do You Create a Geofence Zone?
- Which Triggers and Notification Channels Should You Use?
- Why Does Reporting Frequency Affect Alert Accuracy?
- How Do You Test a Geofence Before Trusting It?
- What Best Practices Keep Geofence Alerts Reliable?
- Why a Subscription-Free Tracker Fits This Kind of Setup
- What Actually Matters Once You Hit Save
- Get a Geofence Alert Running Without a Monthly Bill
- Sources
- FAQ
How Do You Create a Geofence Zone?
Every alert starts with a boundary. Most tracking dashboards, including fleet platforms and consumer apps, let you draw that boundary three ways, and the shape you pick should match the site you’re watching, not just whatever looks the easiest on the map.
Choose your geofence type:
- Circle — fastest to draw, best for a single address like a jobsite, warehouse, or driveway.
- Polygon — traces an irregular property line, useful for a yard, lot, or building complex with an odd footprint.
- Corridor — follows a route, ideal for tracking whether a vehicle stays on an approved delivery path.
Once you’ve picked a shape, the setup follows a consistent platform workflow: search the address or drop a pin, draw the radius or trace the polygon, then name and save the zone. Naming matters more than people assume. “North Yard” is useless once you have twelve zones; “North Yard, Gate 3, entry only” saves you time during troubleshooting six months from now.
After the shape is saved, assign the devices or asset groups that should trigger it, and set active hours if the rule only matters during certain shifts. A loading dock alert that fires at 2:00 AM every night because a night guard drives through isn’t a bug, it’s a zone that needed a time window.
Before moving to notifications, confirm this checklist:
- Zone name is specific and searchable
- Shape matches the site (circle, polygon, or corridor)
- Radius is set in the correct unit (meters or feet)
- Trigger type is selected (entry, exit, or dwell)
- Active hours are configured if needed
- Correct device or group is assigned
Most geofencing implementations, including SafeGraph’s guide to the format, support all three shapes and the trigger types described above, so you’re not limited by the platform, only by how carefully you set the zone up.
Which Triggers and Notification Channels Should You Use?
Entry alerts tell you when an asset arrives. Exit alerts tell you when it leaves. Dwell alerts fire only after a device stays inside the boundary for a set period, which matters more than people expect: without a dwell threshold, a truck idling at a stoplight just inside your zone line can trigger a false exit and re-entry within seconds.
Channel choice depends on urgency:
- Push notifications — fastest, best for time-sensitive operational alerts
- SMS — reliable even with weak data signal, good for after-hours security alerts
- Email — creates a searchable, auditable record, useful for compliance or dispute resolution
- Webhook or API — feeds the alert directly into another system for automated workflows
Keep operational alerts (a delivery truck reaching a customer site) separate from security alerts (a trailer moving off a locked lot at 3:00 AM). Mixing the two in one channel means important alerts get lost in routine noise. Fleet management platforms typically let you customize message content, so include the device ID, timestamp, and geofence name in every message rather than a generic “alert triggered” line.
Pro Tip: Write your alert message like a text you’d send a coworker: “Truck 14 left North Yard at 6:42 AM.” That reads faster than “Geofence Exit Event Detected” during a busy morning.
Why Does Reporting Frequency Affect Alert Accuracy?
Faster reporting intervals mean quicker alerts, but they also drain battery and use more data. Slower intervals stretch battery life at the cost of stale location points, which can delay an alert by minutes on a fast-moving vehicle.
GPS accuracy also depends on conditions the device can’t control. Dense city blocks cause signal multipath, and covered parking or metal buildings force a fallback to cell or Wi-Fi positioning, both of which lose precision. Urban canyons and infrequent reporting are a documented cause of devices appearing to teleport across a boundary, producing a false entry or exit event that never really happened.
Buffering adds another wrinkle. A device that loses signal indoors and reconnects later may upload a batch of old points all at once, making it look like the vehicle jumped instantly from one location to another.
Fixes that actually help:
- Widen the radius in signal-poor zones
- Add a dwell-time threshold before an alert fires
- Combine the geofence trigger with ignition or speed data
- Check antenna placement and mounting, since metal roofs and dashboards block signal
How Do You Test a Geofence Before Trusting It?
Don’t wait for a real incident to find out your zone is misconfigured. Run a short test cycle first.
- Simulate an approach on the map tool if your platform supports it, and confirm the alert fires correctly.
- Physically drive or walk the boundary at normal speed and check that the entry or exit event logs at the right moment.
- Compare the event timestamp and coordinates against where you actually were.
- Repeat with the device mounted in different spots, since dashboard, trunk, and undercarriage placement can each report differently.
- If alerts arrive late or batched, capture the timestamp gap and device signal status before contacting support.
Some platforms require multiple consecutive GPS points to confirm a real boundary crossing rather than acting on a single reading, which cuts down on false toggles at the zone edge. If a fix like widening the radius or adding dwell time doesn’t resolve repeated false alerts, that’s the point to escalate to your platform or device vendor rather than keep adjusting settings on your own.
What Best Practices Keep Geofence Alerts Reliable?
A geofence without an owner turns into noise nobody acts on. Before you build the zone, decide who receives the alert and what they’re supposed to do when it fires. That single step prevents more false-alarm fatigue than any technical setting.
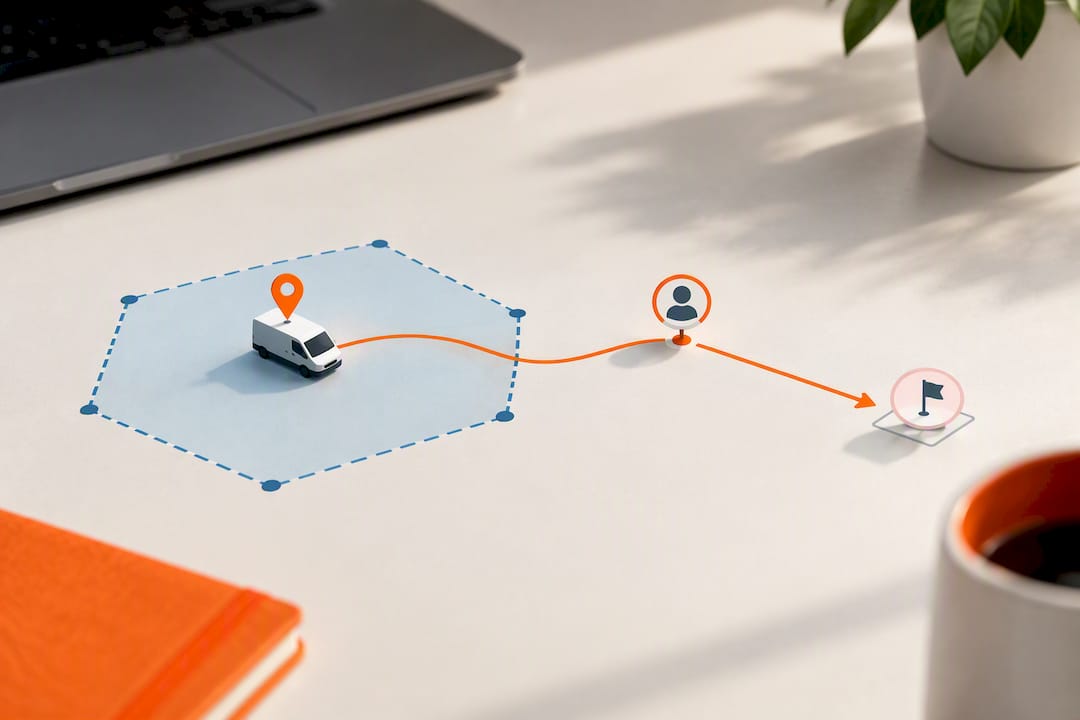
Sizing matters more in noisy environments than most people realize. A wide-open rural yard can run on a tight 50-meter circle. A downtown loading dock surrounded by buildings often needs a larger radius, or a polygon that matches the actual property line, to avoid tripping on signal drift alone. According to ERM Telematics, every zone should have a clear purpose, an owner, and an escalation path defined before it goes live.
Other rules worth building in from day one:
- Use time windows so alerts only fire when the rule is relevant
- Group assets logically so one rule change updates every device that needs it
- Layer in speed or ignition data for higher-certainty zone monitoring
- Keep event logs and trip history on hand for audits or disputes
Pro Tip: Review your geofence list every quarter. Zones tied to jobsites that wrapped up months ago are the most common source of alerts nobody remembers setting up.
Why a Subscription-Free Tracker Fits This Kind of Setup
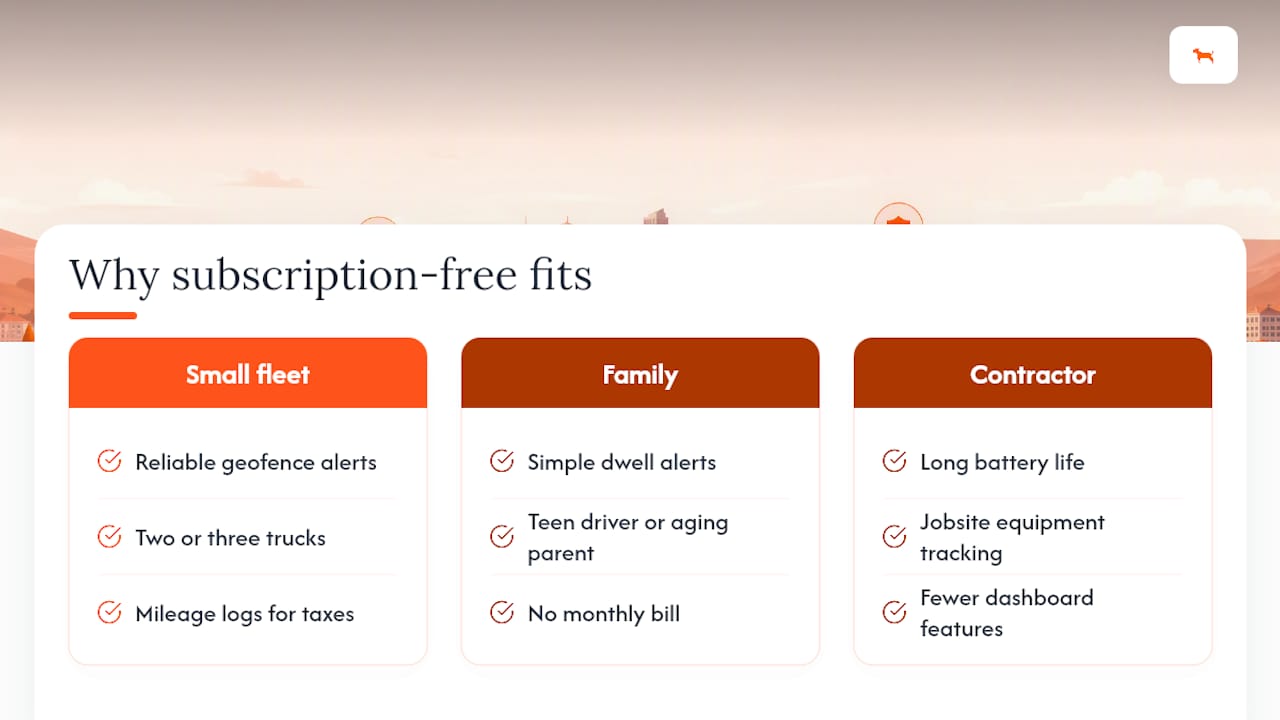
Geofencing only stays useful if the hardware behind it keeps reporting without becoming a recurring expense you have to justify every month. Moto Watchdog builds its trackers around that idea: subscription-free GPS tracking with customizable geofencing alerts, long battery life, and trip and mileage reporting built in.
That combination fits three common situations well. A small fleet owner watching two or three trucks doesn’t need enterprise software, just reliable zone alerts and mileage logs for tax records. A family tracking a teen driver or an aging parent’s car wants a simple dwell alert without a monthly bill. A contractor guarding equipment on a jobsite needs long battery life more than a dashboard full of features. Over 1,000 businesses currently rely on Moto Watchdog for tracking, with reported satisfaction centered on setup simplicity and consistent alert performance.
What Actually Matters Once You Hit Save
Testing, ownership, and reducing noise decide whether an alert system earns trust or gets ignored within a month. A perfectly drawn polygon means nothing if nobody knows they’re supposed to act on the alert it sends.
Run this in one sitting: create the zone, set your entry, exit, or dwell trigger, assign a recipient who will actually respond, test it with a real approach, then tune the reporting cadence based on what the test showed you. Skip the tuning step and you’ll spend the next month second-guessing every alert that fires.
— Louis
Get a Geofence Alert Running Without a Monthly Bill
Every setup step in this guide works whether your tracker charges a subscription or not, but the ongoing cost adds up differently depending on which you choose. Moto Watchdog sells hardware with no recurring fee attached, so the geofencing, mileage reporting, and push alerts you just configured keep running without a monthly charge showing up on a statement.
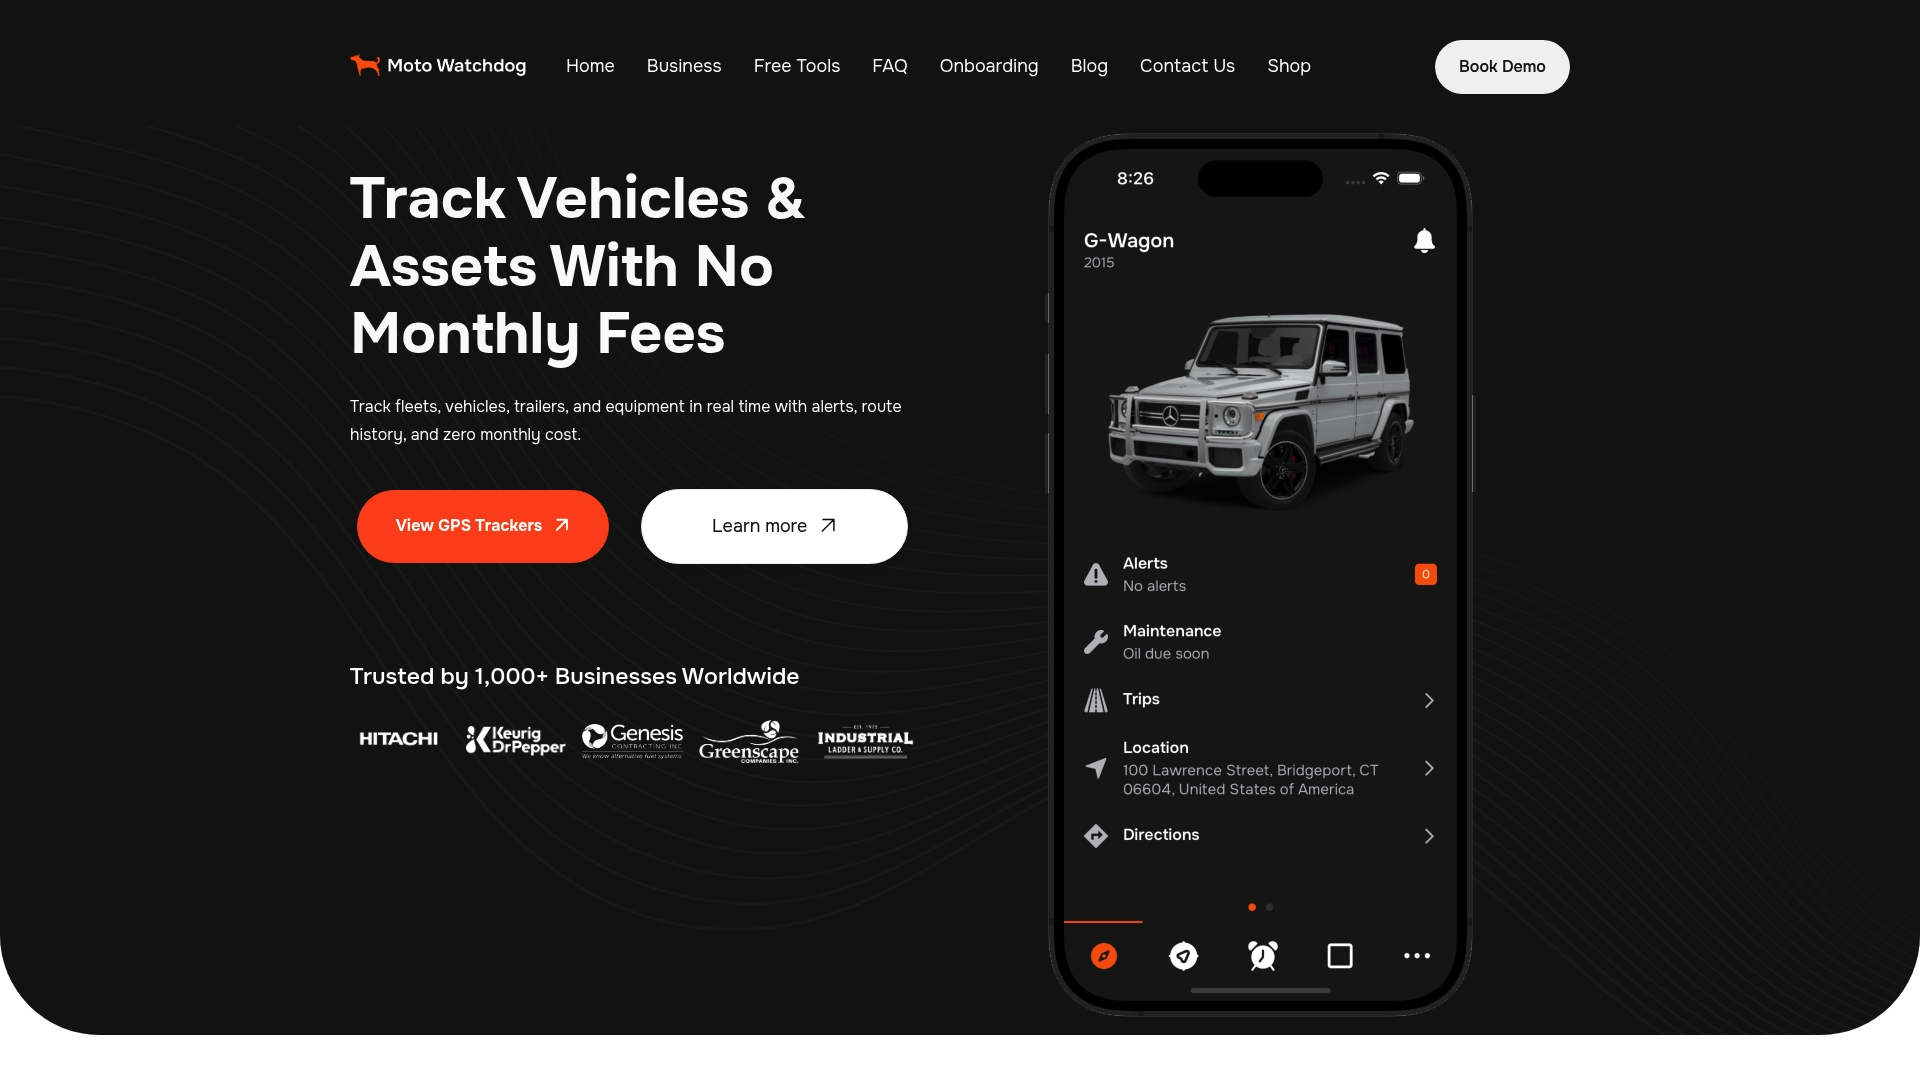
The Trackers lineup starts at $124.99 one-time and includes the customizable geofence alerts and long battery life described throughout this guide. If you’re managing a fleet or need webhook and integration options for automated notifications, the business and API page covers what’s available for that kind of setup. Pick a tracker, set your first geofence the same day it arrives, and you’ll have a working alert before your next fuel stop.
Sources
- Geofencing in mobility ops: where it works and where it fails — TelemetryHQ
- Geofencing guide — SafeGraph
- Navixy — Events and notifications (geofence alerts)
- GpsGate — Generate Email, SMS or Fleet app alerts based on Geofence alerts
FAQ
How Do I Turn on Emergency Location Alerts on My Phone?
Most phones have this built into settings under emergency or safety features, where you enable location sharing tied to emergency calls or SOS alerts. This is separate from geofence alerts on a tracker, which require creating a zone and trigger inside the tracking app itself.
How Do I Set Up Location-Based Alerts on an iPhone?
On an iPhone, location-based alerts usually run through the Reminders app or a third-party tracking app, where you set a location and choose “arriving” or “leaving” as the trigger. For vehicle or asset tracking, a dedicated GPS platform gives you more control over radius size, dwell time, and who gets notified.
Is It Free to Set Up a Google Alert?
Google Alerts, which monitors web content for keywords, is free but has nothing to do with GPS or geofence tracking. GPS geofence alerts run through a tracking device or app, and with Moto Watchdog specifically, the tracker itself is a one-time purchase with no monthly monitoring fee.
How Do I Set a GPS Tracker on a Phone?
Install the tracking app tied to your device, grant location permission when prompted, then create a geofence by dropping a pin or drawing a boundary on the map. Location permission is required for the app to detect boundary crossings, which is standard across mobile geofencing tools.
Why Did My Geofence Alert Fire When Nothing Actually Happened?
This usually comes down to GPS drift, a stale point after the device reconnects from a signal gap, or a radius set too tight for the area. Widening the zone slightly and adding a short dwell-time threshold resolves most false triggers without any other changes.